
This post is sourced from HOVATEK, you can get the original post Here.
How to Successfully Root Gionee Elife S Plus Running Android 6.0 Marshmallow, For those of us using Gionee Elife S Plus running the latest 6.0 Marshallow update from Gionee and you like to root your device? Then this post is for you. You can also get the rooting technique for the Gionee Elife S Plus running on Android 5 Lollipop here. For those who’ve upgraded to Marshmallow, there’s yet another difficulty rooting. This guide will teach you how to root your Gionee Elife S Plus after upgrading to Android 6.0 Marshmallow.

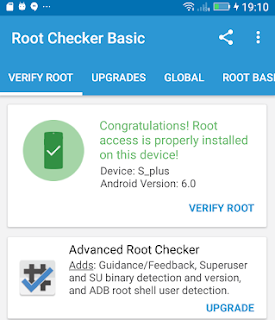
Confirm Root by installing and running Root Checker
How to root Gionee Elife S Plus running on Android 6.0 (Marshmallow)
There are two main steps:
- Unlocking the Bootloader of the Gionee Elife S Plus
- Flashing the Hovatek TWRP recovery.img and SuperSU.zip
- Download SuperSU 2.76.zip at Here
- Copy SuperSU.zip to both the phone’s SD card and internal storage
- Download TWRP for Gionee Elife S Plus (Marshmallow) ported by Team Hovatek Here
- Extract and copy the TWRP recovery.img into the same folder as the fastboot.exe and adb.exe Unlock the Bootloader of the Gionee Elife S Plus using the guide at Here
- Connect the phone to the PC via USB cord while switched On and boot it into Fastboot (as instructed in the Bootloader unlock guide)
- When the phone enters Fastboot, load the TWRP recovery to the phone by typing the command below then pressing Enter fastboot boot recovery.img
- The phone should automatically boot into TWRP recovery mode
- In TWRP, if you get a prompt asking you to swipe to allow modification of the System partition, tap KEEP READ ONLY
- If TWRP offers to root the phone, select NO
- In TWRP recovery, tap Install
- Navigate to the location of the SuperSU2.76.zip and select it
- Swipe to confirm flashing of SuperSU.zip and wait till flashing is complete
- Reboot the phone normally
Confirm Root by installing and running Root Checker
No comments:
Leave a comment
YOUR COMMENTS ARE HIGHLY APPRECIATED, SPAMMING IS NOT ALLOWED, IF YOU NEED BACKLINK CONTACT US.